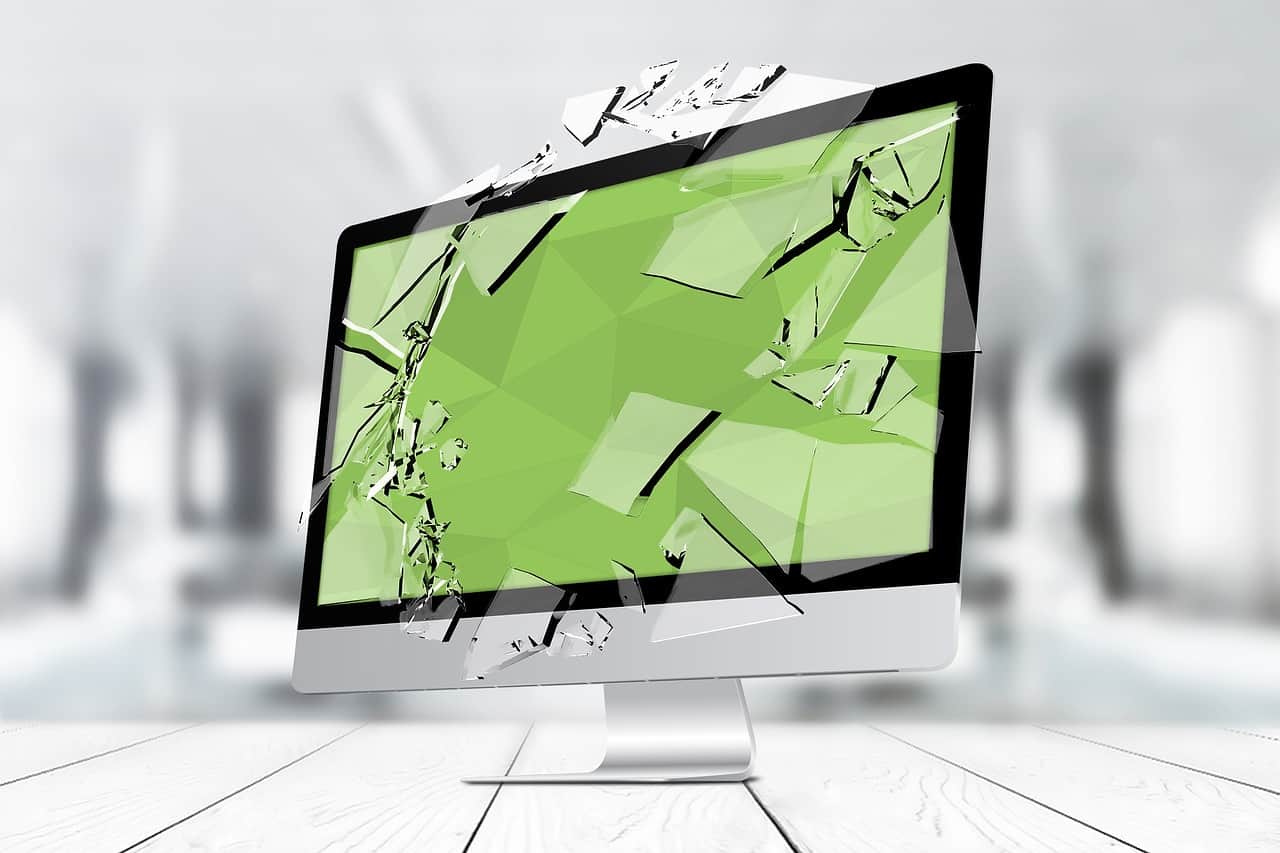
The screen tops the top of the objects that cause the most problems in laptops and notebooks, along with the hard disk. And it is that the screen is a very fragile part of devices that if it is not treated properly or receives a small blow immediately stops working.
In some cases it is quite clear, it is only to disassemble the laptop with the broken screen, with the cracked screen, or as many say, the screen with the liquid spilled.
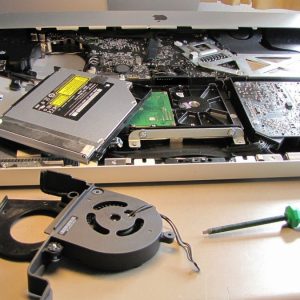
But in many other cases, you have to change some more parts, such as the video cable that goes from the motherboard to the screen, such as the inverter or inverter circuit, such as the hinges, or the screen frame itself. In this article, we will guide you step by step on how to remove and replace the broken screen of your laptop or notebook with a new one.
How to diagnose and replace a laptop screen? What you are going to need before starting?
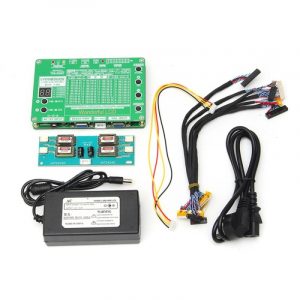
In order to carry out the process of replacing the screen of the notebook or laptop, we need the following tools:

- A Phillips-head screwdriver (screwdriver).
- A flat-blade screwdriver (screwdriver).
- A new screen (the one that we are going to place on the computer must be the same as the one that is going to be removed from the laptop).
- Clean cloth or rag.
- In addition to these implements, we must have a lot of patience since the process can be somewhat long.
- Compatibility of the Laptop Screen to be replaced
The first step we will take is to disconnect the equipment from the entire electrical source, including the battery, which we must remove before carrying out any manipulation to the equipment. Once the notebook is completely disconnected, we proceed to continue with the replacement of the screen.
We have to check the compatibility of the screen received with our laptop or notebook. Once you have the screen, do not remove the protective film that comes with the new screen until you check the compatibility and the operation of the screen, in case it has to be returned under warranty.
– Removing the Screw Guards
After having everything in order we can start with the screen change. We will first open the laptop and locate the small circular rubber or plastic covers (trims) on the front casing that surrounds the laptop screen. Pay attention as the screw protectors can be differently shaped and located either on the front plastic casing or on the sides.
Use a small putty knife or other fine-pointed objects to remove each of the screw covers from the front of the case. If there are any on the sides, remove them as well.
– Removing the Screws from the Front Housing
Remove all the screws with a Phillips screwdriver and store them in a safe place. If the laptop also has screws on the sides of the plastic front case, these must be removed as well.
– Removing the Front Plastic Housing
Start at one side of the case, carefully insert your fingers between the screen and the front plastic case. As a general rule, it tends to come off easily. If not, carefully move the casing back and forth little by little until it comes loose slowly. Check everything carefully in case you forgot to remove a screw.
The procedure must be repeated on all sides of the casing.
After removing the entire front cover, the laptop screen is supported by metal brackets that are located on both sides of it, which are the hinges. The screen is attached to these hinges also by screws.
At the bottom of the screen, if it is an LCD model, there is a component called an inverter that provides the light to the laptop screen. In the LED models the inverter is integrated into the same screen.
– Removing the Screws from the Hinges
We continue with the steps to change the screen of the laptop, laptop, or notebook, all these terms have the same equipment. Tilt the screen with its hinges forward, away from the back cover, so that you can access the screws that hold it to the metal brackets.
Using a screwdriver to remove all the screws that hold the screen to the side hinges.
Once you have removed all the side screws, tilt the laptop screen over the keyboard, as if you were closing the laptop, leaving the back cover behind.
Note: In some models, it is necessary that, if it is too short, the video cable is disconnected before resting the screen on the keyboard.
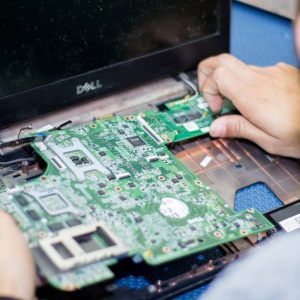
– Removing the Video Cable
Disconnect the video cable, which is flat. Be very careful not to damage it. If there are hooks on both sides of the video cable connector, press them to unplug the video cable.
Disconnecting the Inverter Cable
If the screen to change of the laptop is LCD, remove the plug, which is white, from the inverter. If it couldn’t because the inverter is not accessible, it may have to be unscrewed.
Note: Most laptop displays have only one inverter socket, but there are some that have two sockets. In addition, it should be noted that in the case of LED screens there is no connector for the inverter or inverter since the latter has it integrated.
– Installing the New Laptop Screen
After removing the old screen from the laptop, follow the instructions in reverse order to install the new screen. The protective film must be removed only when it has been verified that the screen works correctly, and just before replacing the front plastic frame or front housing.
Now you know what you have to do to change the screen of your laptop or notebook without having to take it anywhere to have it fixed and thus be able to save a little money. If all went well, you should now have a shiny new laptop screen. Replace the battery and test it!